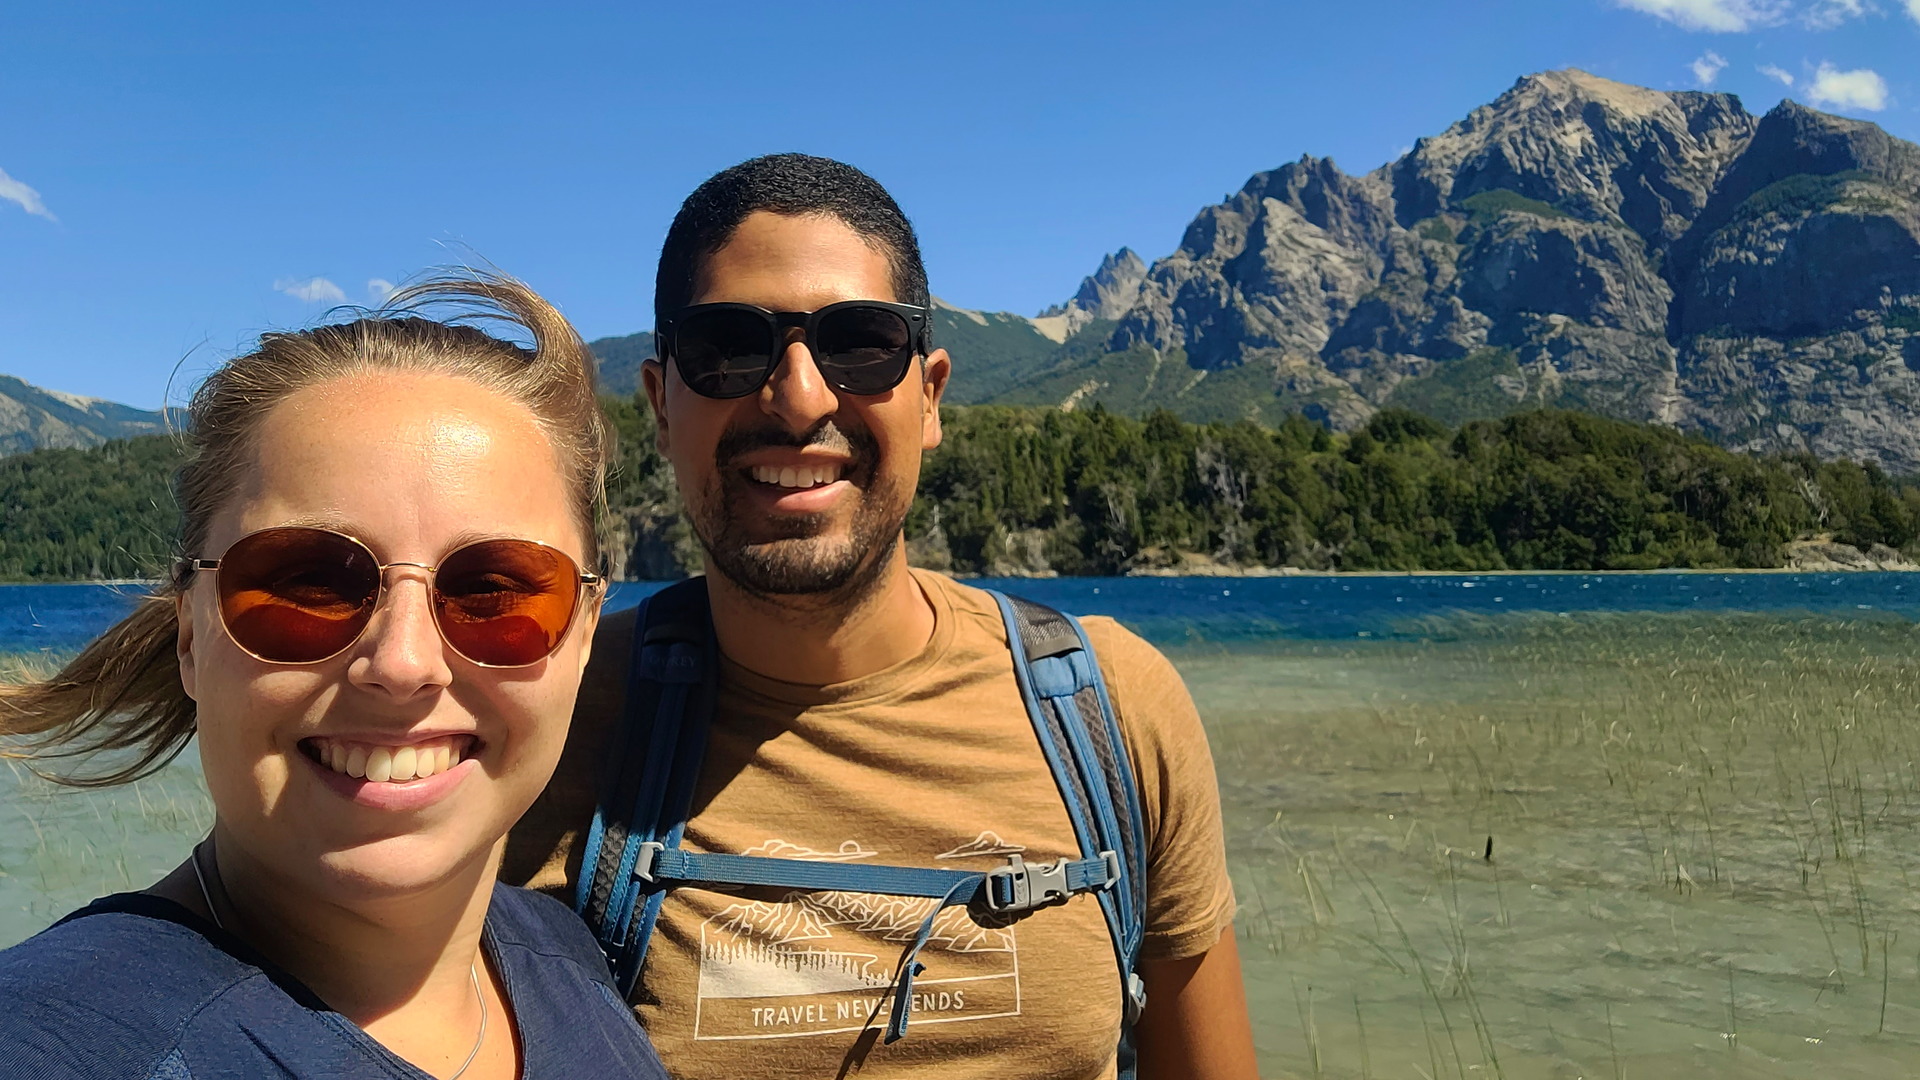
After having hiked a quite bit during our 2 weeks in Chile, and in Esquel and Bariloche, we still hadn’t had enough of it. The hikes we’d done were pretty nice, but some trails are just cooler than others. The hike to the Aconcagua base camp? This one falls in the ‘cooler’ category!
Hiking to Confluencia is not very difficult, but you have to take some things in to account, like a reservation and how to get to the park. But don’t fret, I’ve got you covered!
The Confluencia Base Camp hike
The basics:
- Cost: 5700 ARS ≈ €14 (February 2023, using the Blue Dollar rate, but keep in mind that prices tend to change quickly in Argentina)
- Length: approx. 14.3 kilometers
- Level: moderate
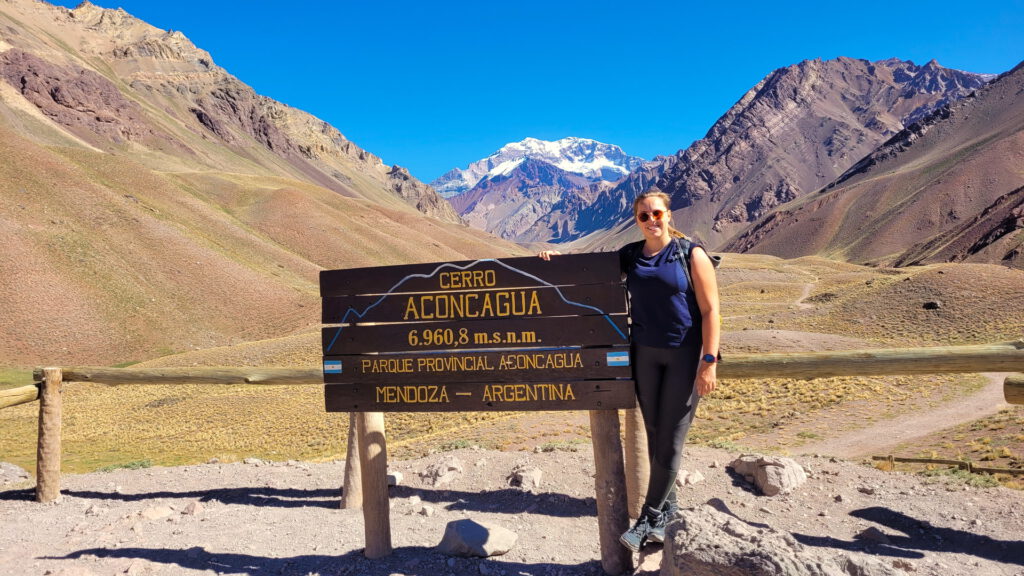
- Elevation gain: approx. 500 meters, from 2800 to 3300
- Route: out and back, you walk the same way back as you came
- Time: approx. 4.5/5 hours
- When: summer months, November to April
- Important: you can only start this hike between 8 and 11 in the morning
Reserve your spot on the trail
Some time ago it was possible to just drive up to the park and buy your hiking permit on the spot. However, this is no longer the case. These days you have to purchase your permit for the Aconcagua base camp hike beforehand on the Mendoza Gobierno website. Don’t worry though, there are 800 spots a day!
How to:
Find the button that says ‘Tickets de Ingresso‘, and on the page that opens find the ‘Parque Provincial Aconcagua‘ and click the ‘Ver actividades‘ button.
Fill in the number of people you want to make a reservation for in the top left corner, in ‘Cantidad de personas‘. Then, find the ‘TREKKING DÍA: HORCONES – CONFLUENCIA- HORCONES‘ option on the page, and click the ‘Ver disponilidad‘ button.
In the top left corner of the page, fill in the date you want to do the hike to see the availability of the 4 different slots. Select the time you want (as we drove from Mendoza, we started at 10, but if you can get there earlier, earlier is always better) and, accept the ‘Terminas y condiciones‘, and click the ‘Reservar‘ button.
Fill in all the requested information. The ‘Categoria‘ field refers to which tariff applies to you. If you’re not from South America, or Argentina, you select ‘Extranjero/a‘.
Make sure your information is correct before clicking ‘Calcular total’ in the top right corner. Then, click the ‘Confirmar‘ button to confirm your reservation. You’ll get a confirmation screen, and an e-mail, confirming your reservation.
But, you’re not done just yet!
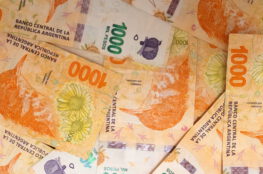
You now have a reservation, but you still need to pay it. Take the document (on your phone, it doesn’t have to be printed) to a Pago Fácil location anywhere in Argentina, show the barcode, and pay. You’ll get a little receipt as proof of payment, which is good to keep until you’ve done the hike, just in case.
Now the real fun can begin 🙂
Getting to Parque Provincial Aconcagua by car from Mendoza
If you’re coming from Mendoza, you’re in for a treat! The drive to the Aconcagua is easily one of the most beautiful drives in the world. So, if you didn’t have one already, get yourself a rental car for the day (we paid approx. 13.000 ARS ≈ €34 per day with Hertz, using the Blue Dollar rate). It will be a long day, but I thought it was so worth it!
First things first, find the ‘Parque Provincial Aconcagua’ in Google Maps and make sure to turn it on before leaving Mendoza so you have the route all set. Even better maybe, make the Mendoza region offline available in your Google Maps app. This way you can always find the route in case you loose it.
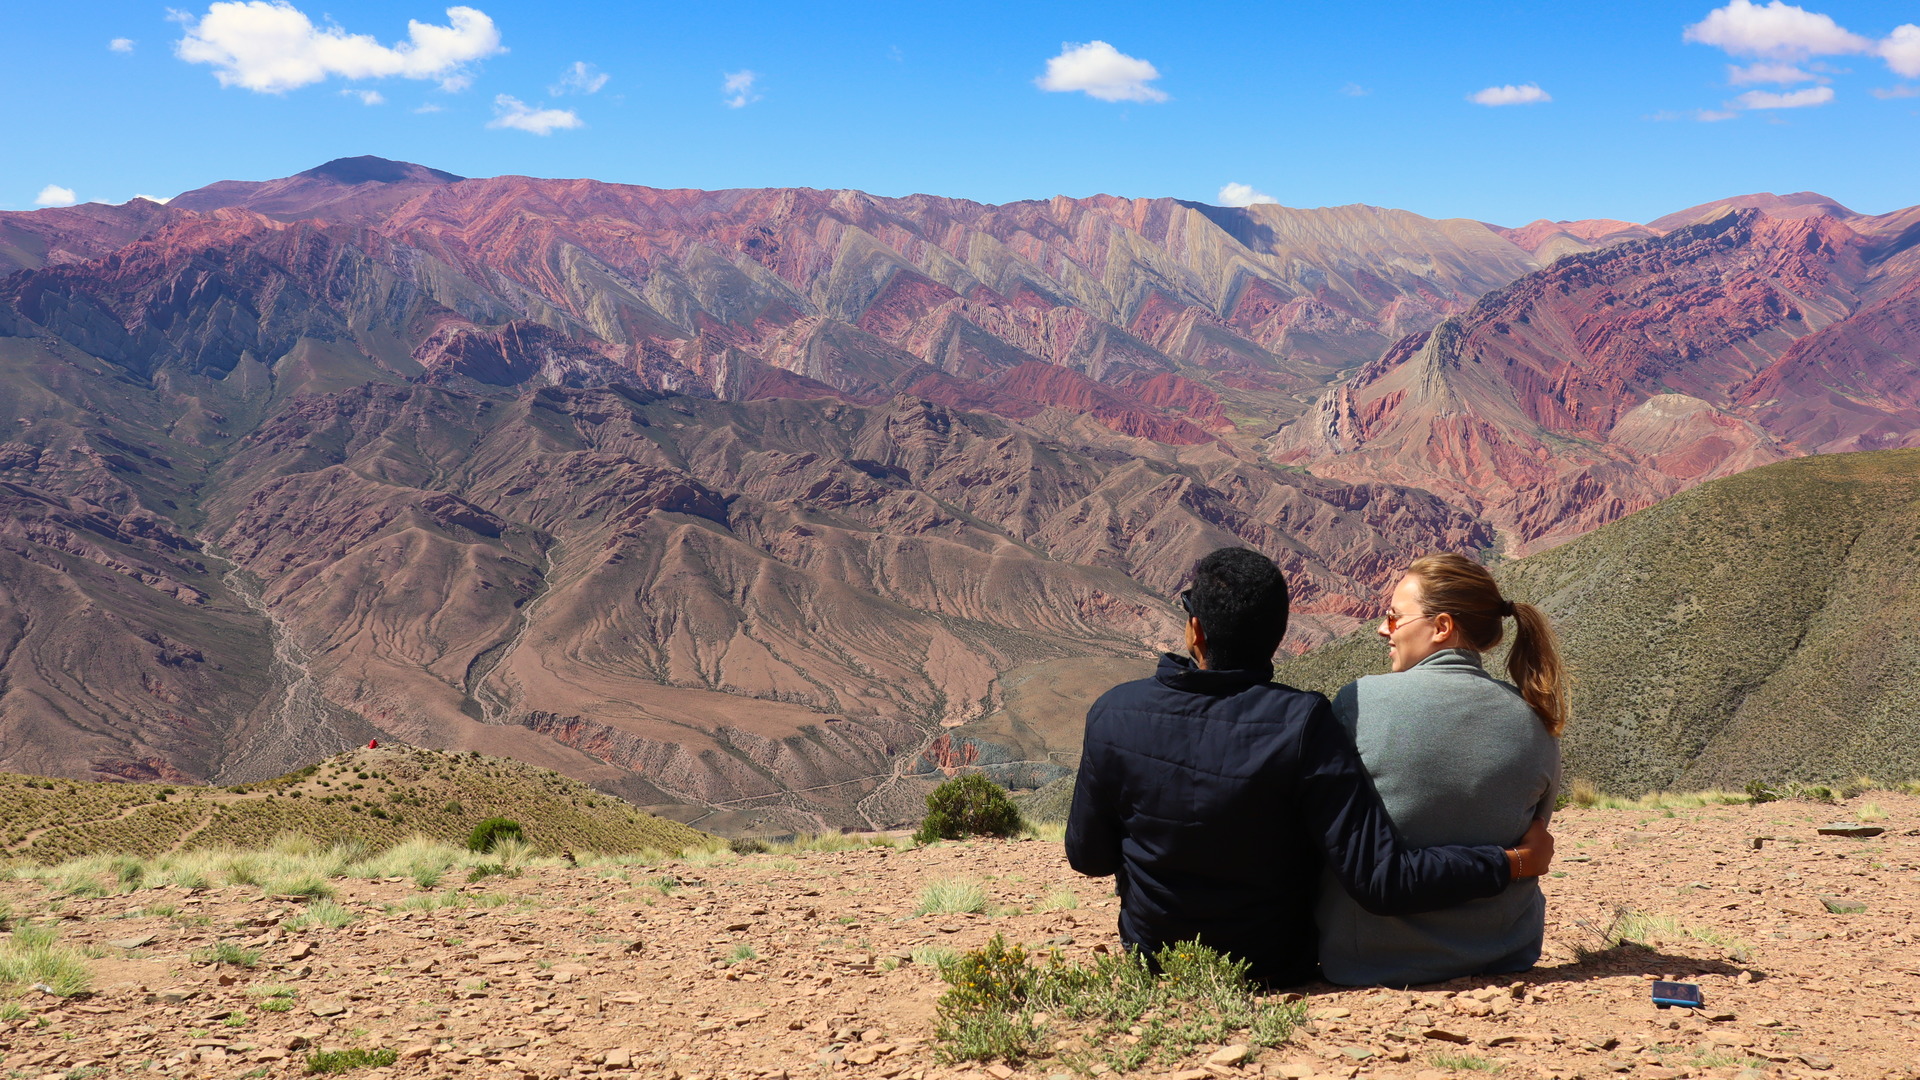
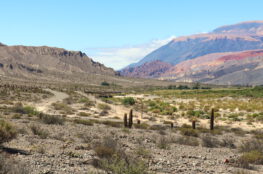
We left for the Aconcagua at 7 in the morning, meaning we’d be there a bit before 10, making the drive about 2.5 hours with a bathroom break in between. There was almost no traffic at this hour, so that also makes things easier. The first hour or so is not very interesting, but that all changes as soon as you hit the mountains.
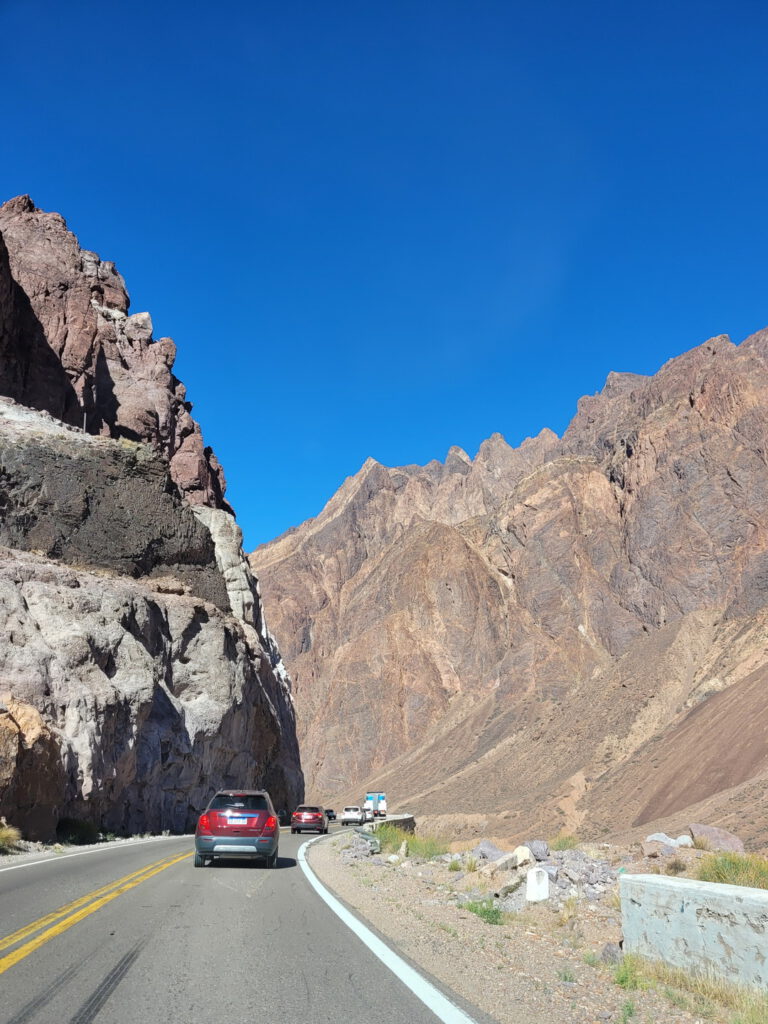
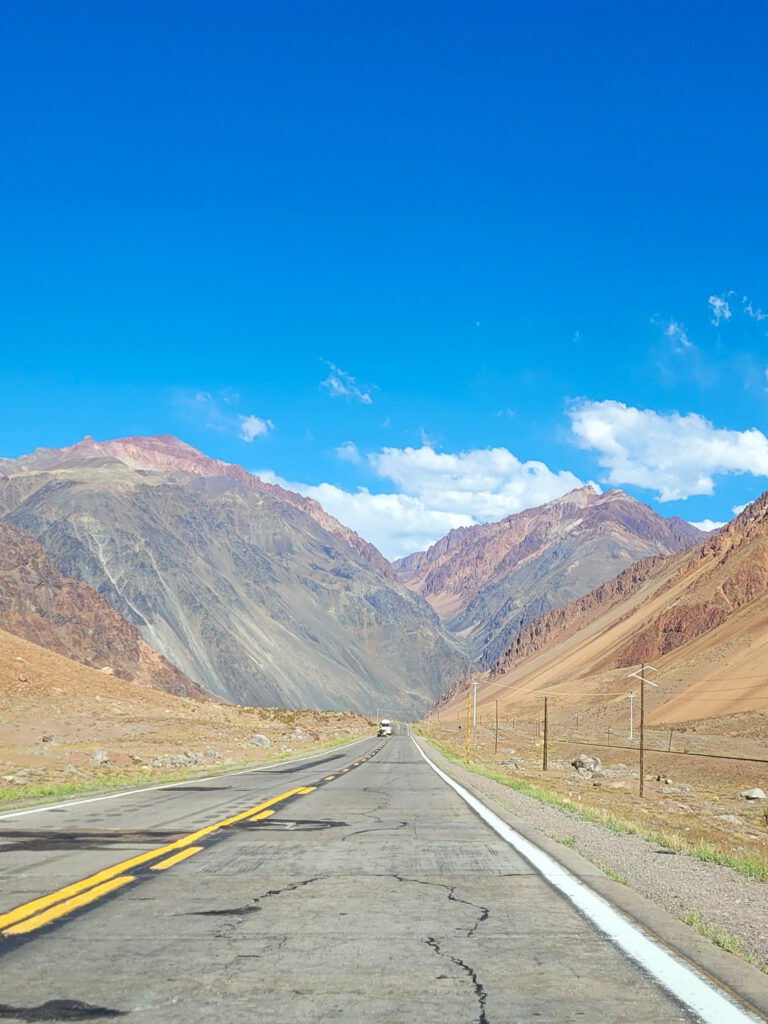
It may be a 2.5 hour drive, but if it’s like this it’s not so bad, right!?
One other thing of importance to notice, when you’re almost there you’ll see signs for the Chilean ‘Aduana‘, the border crossing. The Aconcagua is indeed on the border with Chile, but you can simply drive past all the border stuff as you won’t actually leave Argentina (that is, if you are driving back to Mendoza afterwards, of course).
The entrance to the park is only a few minutes after the aduana, and there’s only a small-ish sign, so don’t miss it or you’ll end up in Chile after all ;).
Checking in/out and the Aconcagua base camp checkpoint
To keep track of who is in the park, you’ll need to check in with the rangers before heading to the parking. Have your passport, confirmation e-mail, and proof of payment (that little receipt) ready for inspection. You’ll be given a ticket that you’ll need to keep on you as long as you’re in the park. They will also explain you a little bit about the area and the route, before you can continue. Also, if you need to use the bathroom, now’s the time, there are none at the parking.
Now, back to that ticket, you will need to keep this on you at all times. When you reach the base camp, the ranger there will ask for your ticket so he can inspect it and stamp it.
When you make it back to the start of the trail, it’s important you also let the rangers know that you’re leaving again. So, when you finish your hike, don’t forget to check out at the same place you checked in!
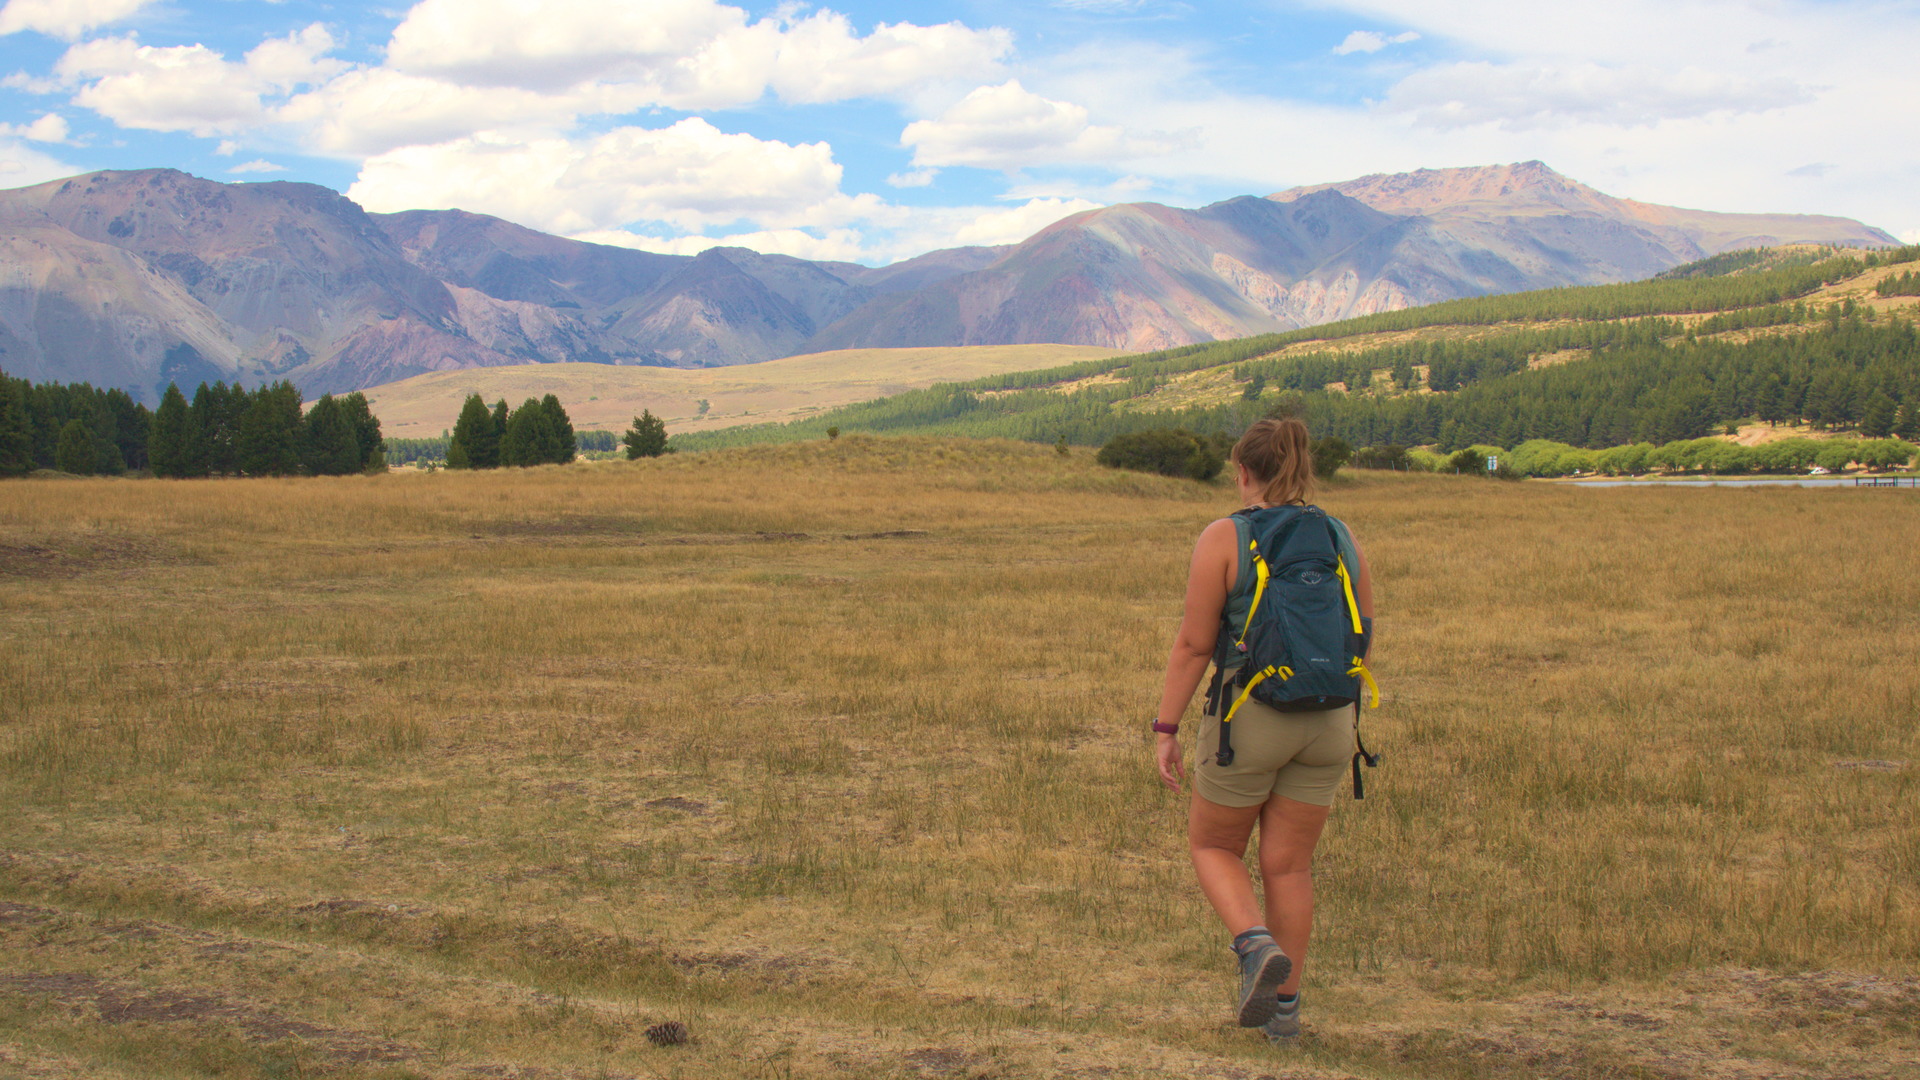
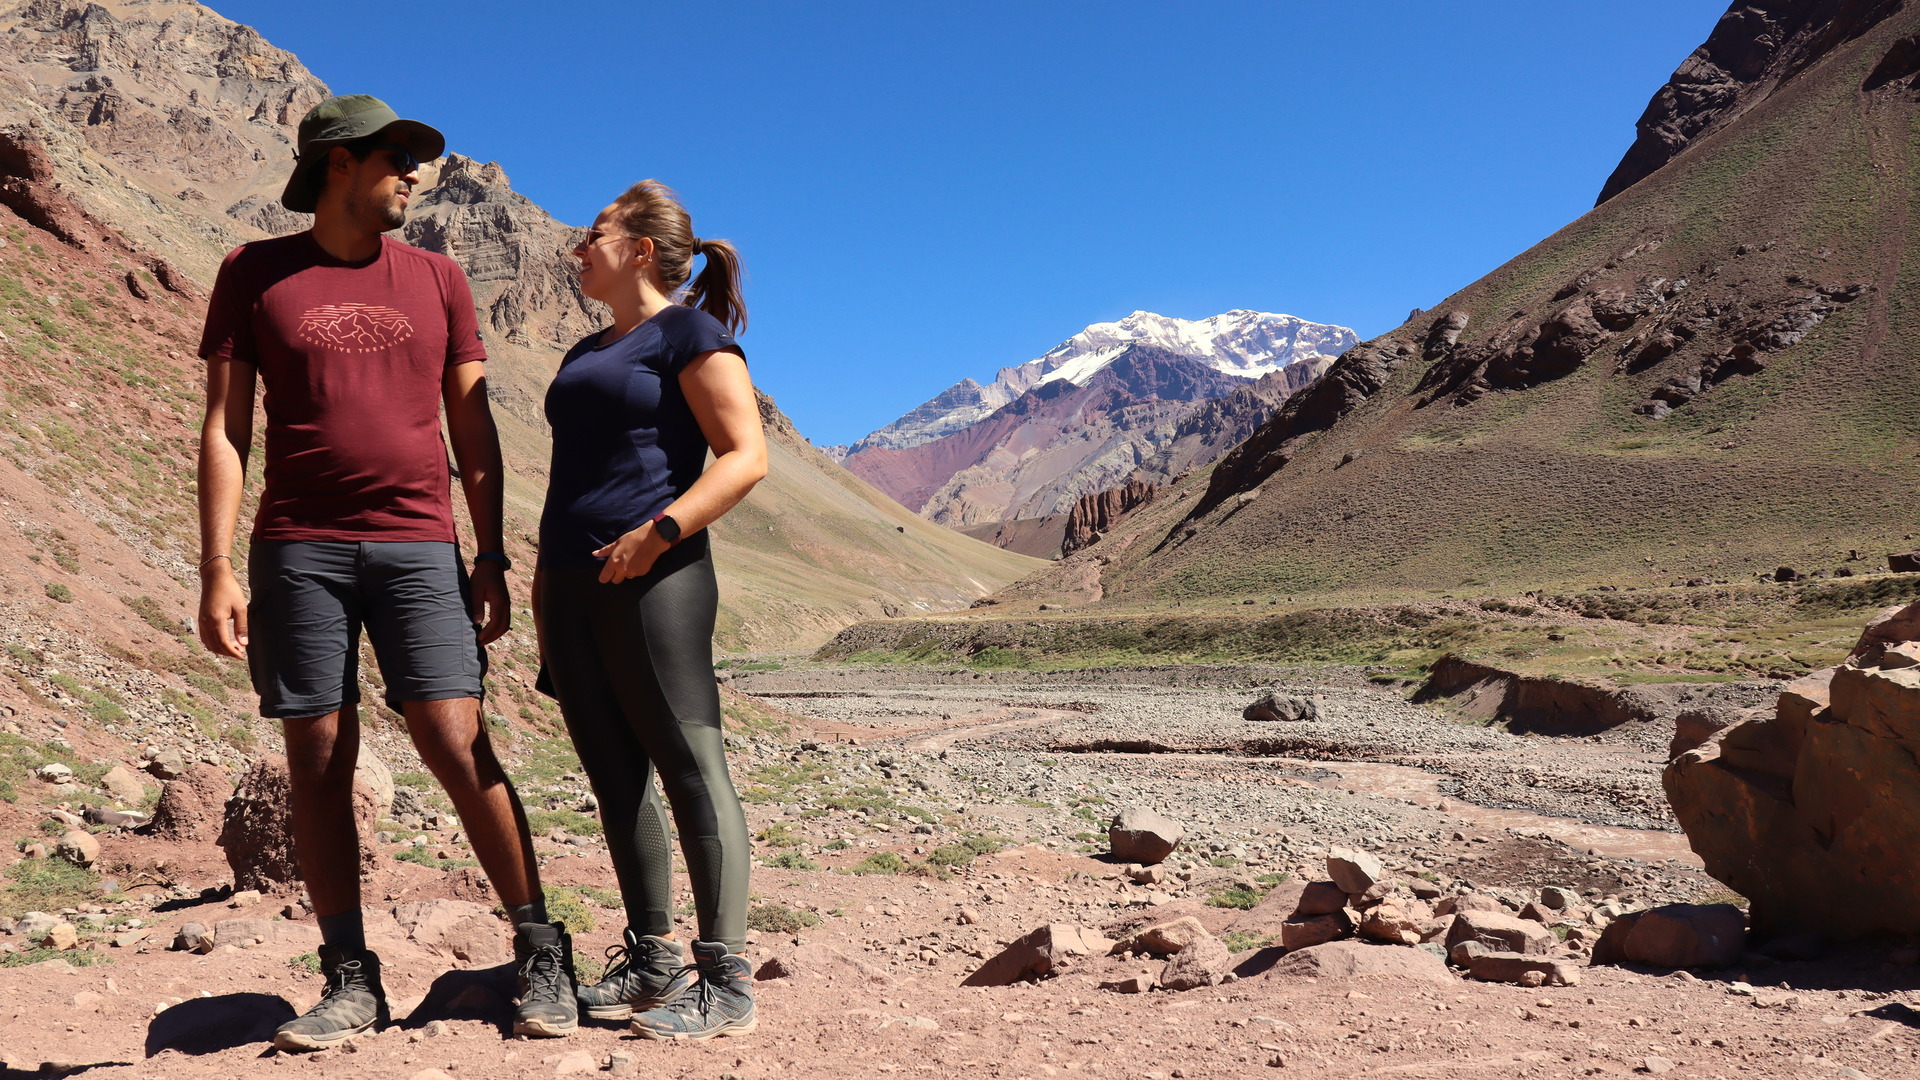
The hike
For some basic trail information before doing the hike I checked out the listing in the Alltrails app (or website). However, the hike is well signed and it’s pretty much impossible to get lost.
This viewpoint is very much at the beginning of the hike, from here you’ll walk a relatively flat trail until you encounter a hanging bridge. From here you’ll have another great view on the Aconcagua, so take a breather and enjoy the scenery.
After crossing the bridge the incline in the trail will start. From here on you’ll climb the majority of the 500 meters of elevation gain.
Keep in mind you are already at altitude, which might make the hike a bit harder, especially the climbing part of it.
Donkeys
Don’t be surprised if you see a bunch of donkeys packed with goods on the trail all of a sudden, they go up and down the mountain several times a day.
Also, make sure you’re not in their way, I wasn’t really paying attention to what was happening behind me and before I knew it I was bumped in to the wall by a donkey that wanted to pass me, hahaha.
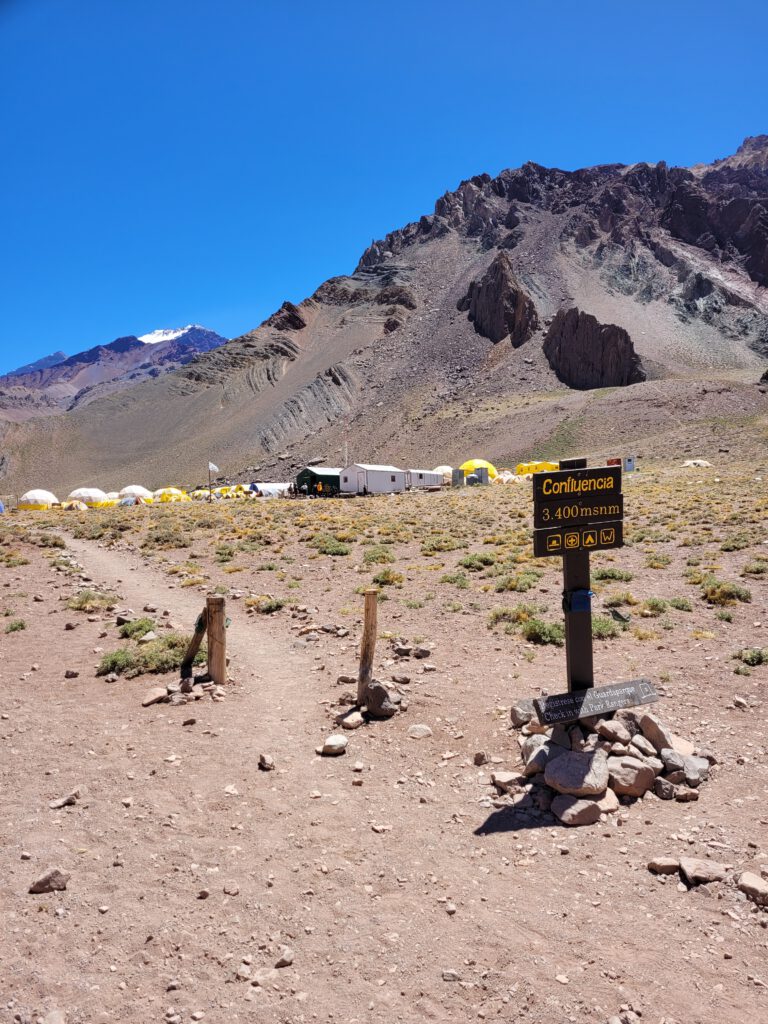
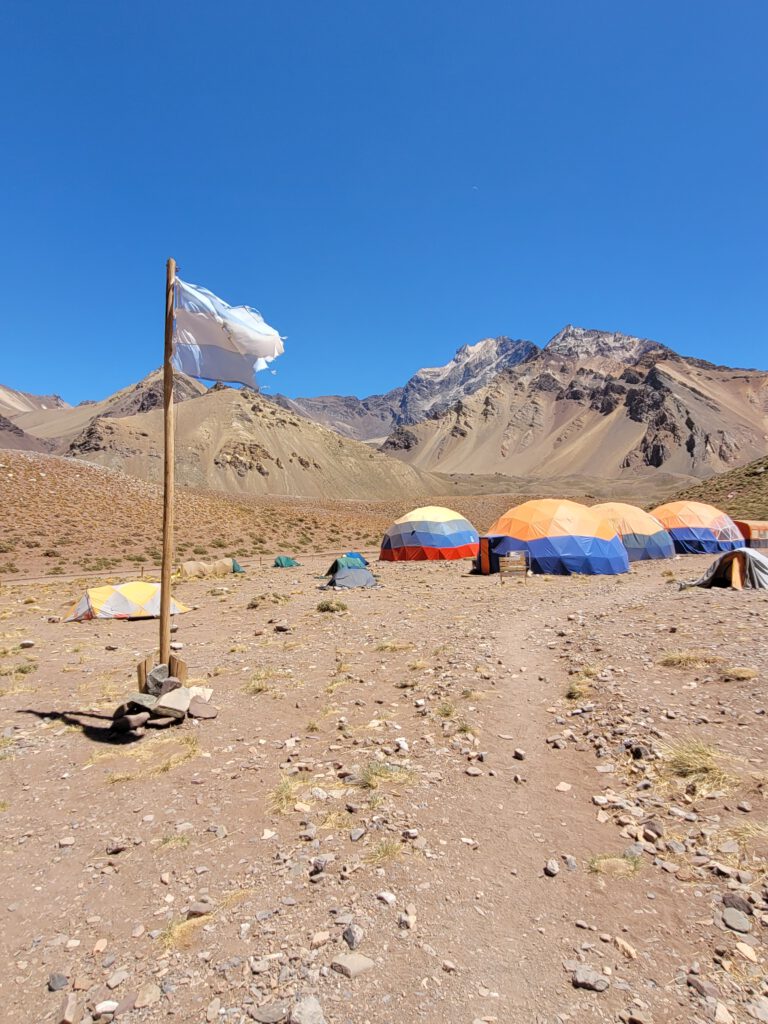
The Aconcagua base camp
After all that climbing (at altitude!), you’ll be so happy to see the bright colors of the base camp tents in the distance. Walk in to the camp and head to the green cabin, that’s where you’re most likely to find the ranger. As mentioned he’ll stamp your ticket before you head back.
Make sure to walk around the base camp a bit before you go back down again, you don’t get to see one every day ;). If you’re up for it you can climb up a little hill for a panoramic view over the camp. Other than that, there are a couple of picnic tables you can sit at and have some lunch, and you can also fill up your water bottle or pack.
I would say now you’re ready to give this hike a go!